By Christina Katz
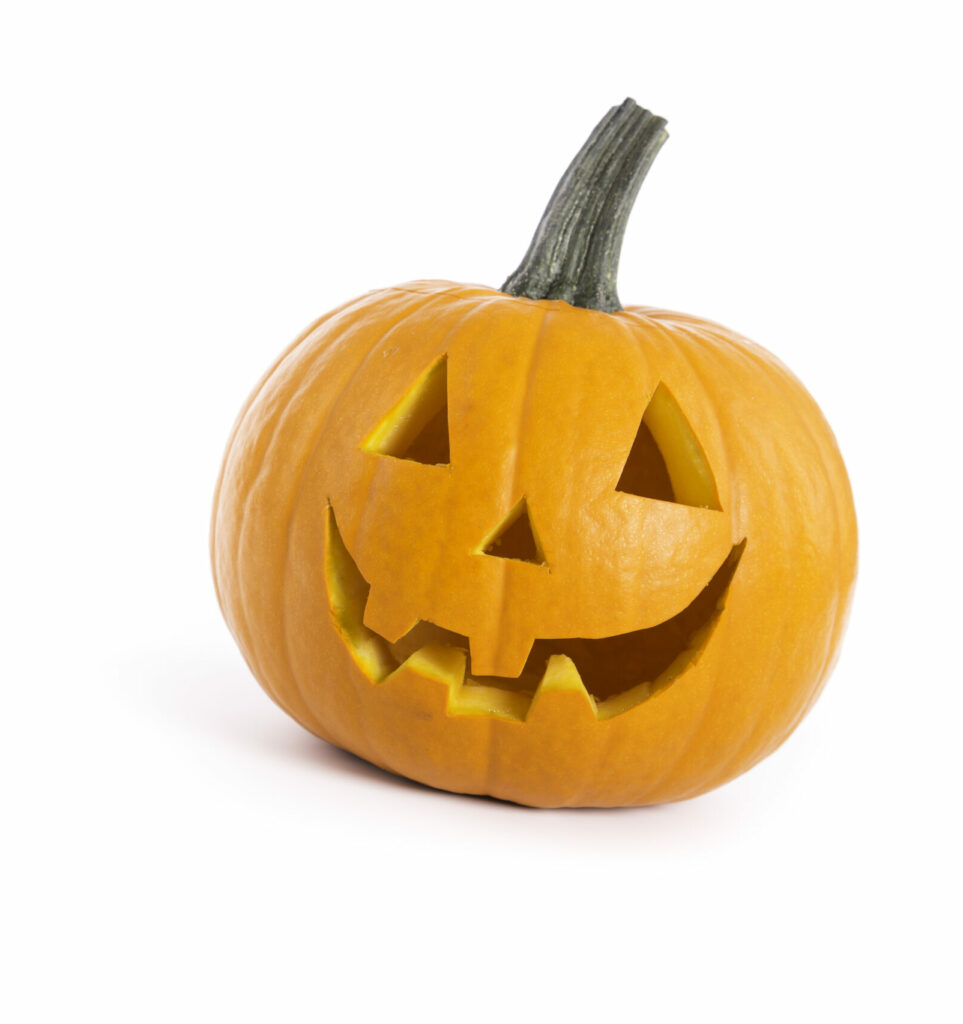
Step 1: Pick the prettiest. Large or small, you are looking for sturdy stems, no bruises
and pumpkins that sit pretty. Place the pumpkin on a counter and stoop down to see how it looks at eye level before you buy. Don’t carry them home by the stems because they break easily.
Step 2: Timing is everything. Carve your pumpkins 3-5 days before Halloween for a still-standing-tall guarantee.
Step 3: Make cleanup a snap. Spread a basic plastic tarp inside on a cool day or outside on a warm day to contain your carving enthusiasm.
Step 4: Use the proper tools. Knives slip and spoons bend, so resist the urge to dip into your cutlery and instead purchase sturdy metal pumpkin scoops and kid-friendly carving saws you
can use year after year.
Step 5: Bigger is better. Enlarge
designs for larger pumpkins with
your home printer or local copy shop.
Step 6: Start at the top. For large pumpkins, make the opening big enough for your hand and cut it
at a 45-degree angle so the top
will nest in place instead of
falling through.
Step 7: Scrape, don’t dig. Don’t thin the walls of your pumpkin when scooping out the guts; it will stay sturdy longer.
Step 8: Draw it first. Use a medium-point washable marker to draw your design and then wipe away any remaining marks after carving. Young children love them.
Step 9: Slit the paper. If you prefer to transfer a design and the pattern won’t wrap flat around your pumpkin, encourage it to cling by cutting a few up-and-down slits on the paper with an X-ACTO knife prior to carving.*
Step 10: Poke-hole patterns. Attach the design to your pumpkin with blue painter’s tape and poke shallow holes along the lines, just through the pumpkin’s skin, with a thumbtack, skinny nail or hat pin. Then, connect the dots with your carving saw to achieve whatever fancy look you like.*
Step 11: Get your hand in there. Push carved pieces out from the inside with a finger. Go over delicate edges with a filet knife if pieces are stuck to avoid tearing pumpkin skin.*
Step 12: Discard pulp outdoors. Do not put pulp into your garbage disposal. The place for pumpkin guts is your compost or yard clippings pile. Remove seeds for roasting and gently shake pulp off your plastic tarp before hosing it off and hanging it out to dry.
Step 13: Keep jacks cool.
In warm weather, keep carved pumpkins cool during the day and avoid direct sunlight. Display them at night, and with battery-powered candles, to avoid interior damage and fire hazards. T
* Techniques for parents only,
not young children.
Author, journalist and writing coach, Christina Katz enjoys having family fun
without spending hours on cleanup. Her favorite parts of the jack-o’-lantern
carving process are picking out the perfect pumpkins and taking pictures of the results.


